
8 Smart Ideas to Declutter Your Bedroom Closet
Tired of your shoe collection turning your closet into a disaster zone? Let’s tame that chaos and create a functional, stress-free space you’ll actually love! Forget those unrealistic, picture-perfect closets. This is about practical solutions. We’re diving into a decluttering process, focusing on your footwear. Learn to edit your collection like a pro, organizing by type for easy access. Discover smart storage solutions to maximize space and say goodbye to shoe clutter. Get ready for a streamlined, organized closet that makes getting dressed a breeze!
Declutter Your Closet: One Shoe At A Time
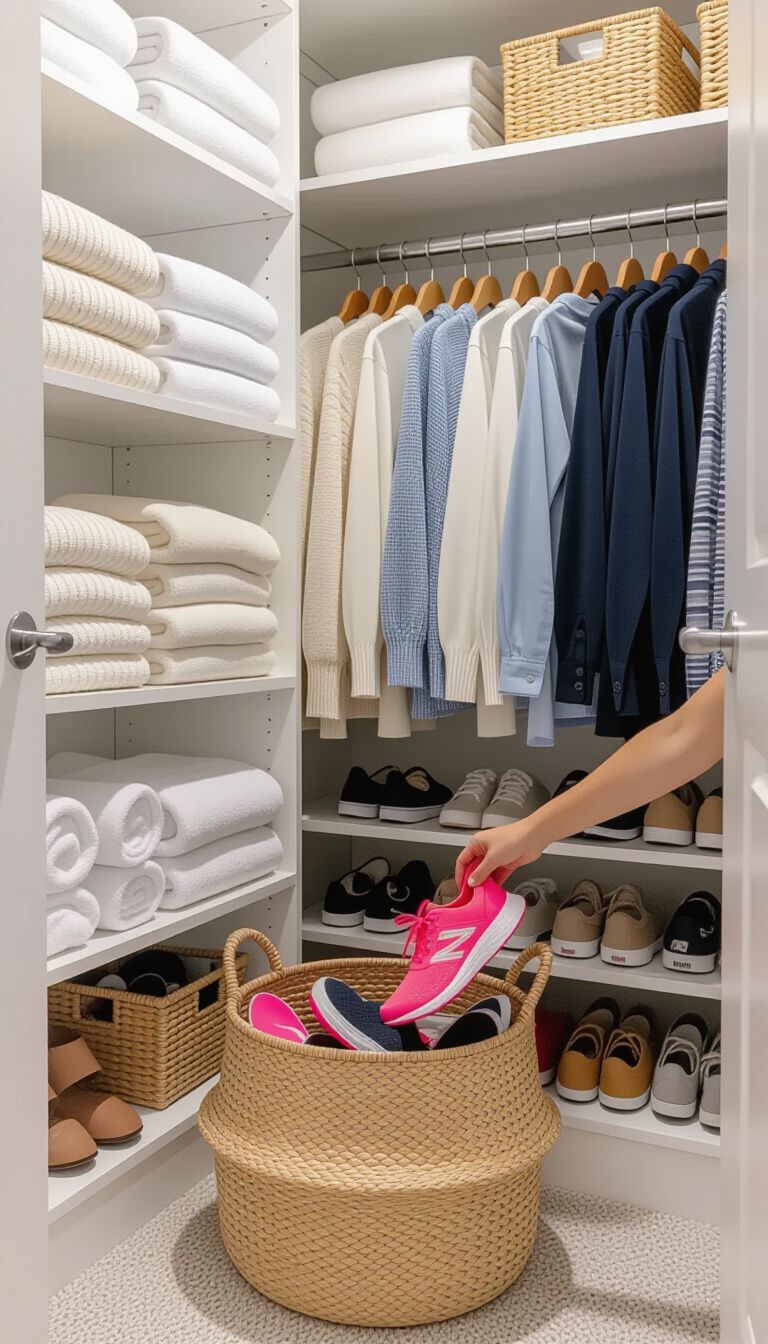
Ready to tackle that overflowing closet? Let’s start with the shoes! Grab a large woven basket or bin and gather every single pair from your closet floor. Now, the tough part: the ruthless edit. Pick up each shoe, one by one, and ask yourself these questions: Have I worn this in the last year? Is it comfortable and in good condition? Does it truly spark joy? If the answer to any of these is no, it goes into a donation or discard pile. Be honest with yourself! Those slightly-too-tight sandals you haven’t touched in two summers? Let them go. For the keepers, consider organizing them by type. Group your sneakers together, your sandals, your dress shoes. This makes it easier to find what you need later. Before putting them back, wipe down the shelves or floor of your closet. A clean space is a happy space! Pro tip: invest in clear shoe boxes to keep dust at bay and easily see what’s inside. If you’re short on space, consider over-the-door shoe organizers or under-bed storage containers. Aim to reduce your shoe collection by at least 20% – you’ll be amazed at the difference it makes. Finally, arrange your remaining shoes neatly in your closet, keeping frequently worn pairs within easy reach. This simple shoe declutter can be done in under an hour and will instantly create a more organized and manageable closet. You’ve got this – now go conquer that closet!
Install Your Dream Closet Organizer

Ready to conquer that cluttered closet? Let’s install a closet organizer! First, completely empty your closet and remove the existing rod and shelving. Patch any holes and give the walls a fresh coat of paint if needed – this is your chance for a clean slate! Now, carefully measure the interior dimensions of your closet – height, width, and depth – and use these measurements to select a closet organizer system that fits your space. Most systems, like the white melamine one we’re using, come with detailed instructions, so follow them closely. Typically, you’ll start by attaching vertical support rails to the back wall, ensuring they are level using a 4-foot level. Next, assemble the shelves, drawers, and hanging rods according to the manufacturer’s directions. This often involves using a power drill with a screwdriver bit to attach brackets and supports. For shelves, ensure they are spaced appropriately for your needs – consider 12-14 inches for folded clothes and taller spaces for shoes or bins. When attaching shelves or drawers to the support rails, double-check that they are level and securely fastened. A measuring tape will be your best friend for consistent spacing. Pro tip: pre-drill pilot holes to prevent the melamine from splitting. Allow at least 4-6 hours for a standard reach-in closet installation, depending on the complexity of the system. Remember to wear safety glasses when drilling and always consult the manufacturer’s instructions for specific weight limits. With a little effort, you’ll have a beautifully organized closet in no time!
Conquer Closet Chaos: Bohemian Edition

Ready to tackle that bohemian closet chaos? Let’s transform it from overwhelming to organized in just a few hours! First, grab three large boxes and label them
- “Donate,” “Keep,” and “Maybe.” Now, starting with the clothes on the rod, take everything out, one item at a time. Hold each piece and ask yourself: Have I worn this in the last year? Does it fit? Do I love it? If the answer to all three is yes, it goes in the “Keep” box. If not, be honest with yourself and place it in “Donate” or “Maybe.” For those fringed jackets and tie-dye shirts you’re unsure about, the “Maybe” box is your friend. Repeat this process with the scarves, necklaces, and everything else in your closet, including that vintage suitcase. Once everything is sorted, immediately take the “Donate” box to your local charity. Next, revisit the “Maybe” box. If you still haven’t worn those items in a month, donate them without hesitation. Now, for the “Keep” items, invest in matching slimline hangers to maximize space. Fold sweaters and jeans neatly on shelves, and use clear storage bins to organize accessories. Pro tip: Roll your scarves instead of folding them to save space and prevent wrinkles. Finally, arrange your shoes neatly on the floor or invest in a shoe rack. This method works because it forces you to confront each item individually and make a conscious decision about its value in your life. Aim to spend 2-3 hours on this process, and you’ll be amazed at the transformation. You’ve got this – let’s create a closet you love!
Master Your Closet: Color-Coded Sweater Bliss
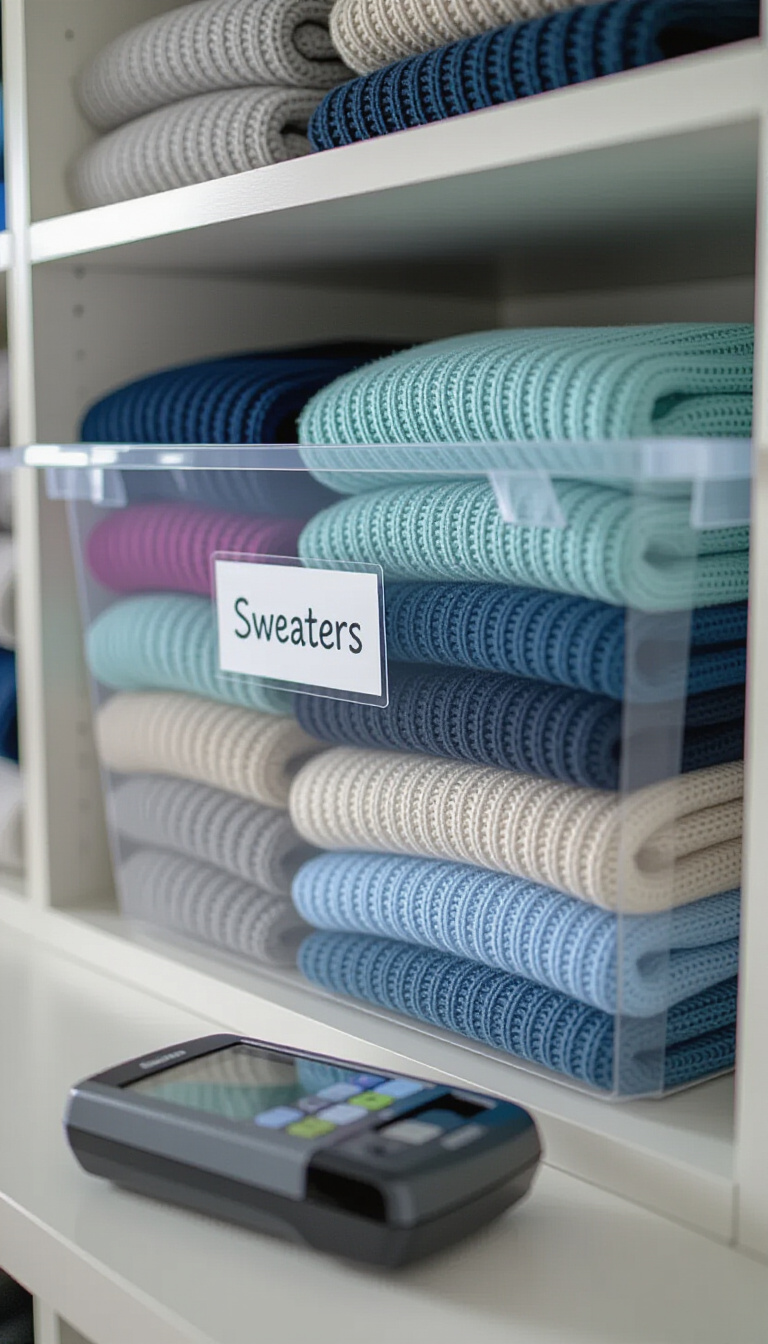
Ready to conquer your sweater chaos? Let’s get those cozy knits organized! First, pull all your sweaters out of your closet and designate a clean, flat surface for sorting. Now, the crucial step: ruthlessly edit. If you haven’t worn a sweater in the last year (be honest!), or if it’s damaged beyond repair, donate or discard it. Next, group your remaining sweaters by type – cardigans, pullovers, turtlenecks, etc. – and then within each type, arrange them by color, from lightest to darkest. This visual organization makes finding what you need a breeze. Now, grab some clear plastic storage bins; the size will depend on your shelf space, but aim for bins that are about 12 inches deep. Fold each sweater neatly, aiming for a uniform size, and stack them vertically within the bin, like files. This maximizes space and allows you to see all your options at a glance. Finally, label each bin clearly using a label maker. “Sweaters – Cardigans,” “Sweaters – Pullovers,” etc. This prevents future mix-ups. Pro tip: use cedar chips or lavender sachets in each bin to keep moths away and add a pleasant scent. If you lack shelf space, consider vacuum-sealed bags for off-season storage. This method works because it combines ruthless decluttering with a clear, visual system that makes finding and putting away sweaters effortless. Spend just one afternoon on this project, and you’ll enjoy a more organized and functional closet for months to come. You’ve got this – go create a sweater sanctuary!
Declutter Your Closet: The Floor Method
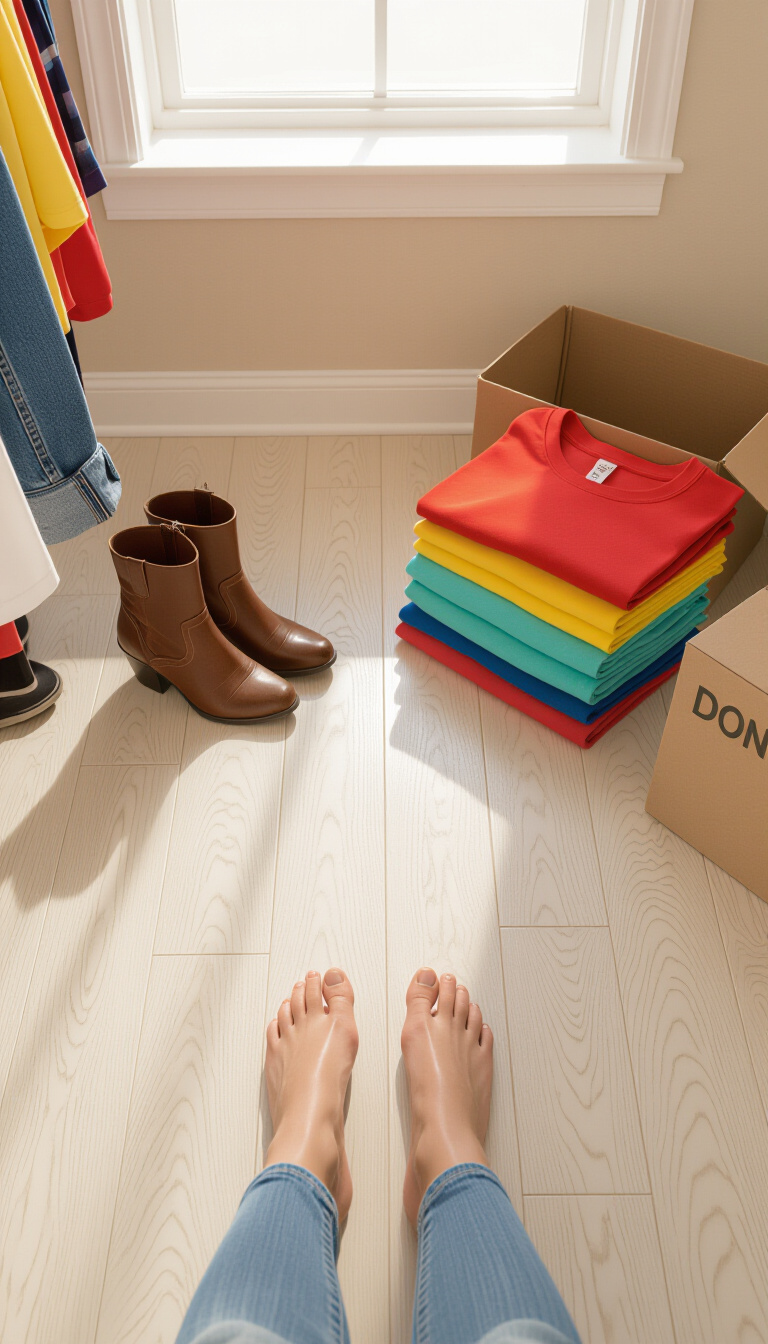
Ready to tackle that closet clutter? Start by creating a “staging area” right on your closet floor. Pull everything out – yes, everything! – and divide it into three piles: Keep, Donate/Sell, and Maybe. Be ruthless with the “Keep” pile; only include items you genuinely love and wear regularly. For the “Donate/Sell” pile, grab a sturdy cardboard box (like that half-empty one we all have!) and immediately fill it with items you know you can part with. Think of those worn leather boots you haven’t touched in a year or those brightly colored t-shirts that no longer fit your style. Don’t let sentimentality cloud your judgment! The “Maybe” pile is trickier. Try on each item in this pile and ask yourself: Does it fit well? Is it comfortable? Have I worn it in the last six months? If the answer to any of these questions is no, it goes into the donation box. Pro tip: Set a timer for 25 minutes and focus on one category of clothing at a time (e.g., shirts, pants, shoes). This prevents overwhelm. Once you’ve sorted everything, immediately take the donation box to your local charity. Don’t let it linger and tempt you to retrieve items! Finally, carefully organize the “Keep” pile back into your closet, using matching hangers and folding items neatly. This method works because it forces you to confront each item individually and make a conscious decision about its value in your life. You’ll be amazed at how much lighter and more organized your closet (and your mind!) will feel. Now, go forth and conquer that closet – you’ve got this!
Conquer Closet Clutter: Shelf-by-Shelf

Ready to tackle that overflowing closet shelf? Let’s break it down into manageable steps. First, grab three empty boxes and label them
- “Keep,” “Donate/Sell,” and “Trash.” Now, starting with that jewelry box, carefully untangle each necklace and bracelet. Ask yourself: Have I worn this in the last year? If not, it goes into the “Donate/Sell” box. For items you love but are damaged, like a broken clasp, set a reminder on your phone to repair it within the next week; otherwise, it’s time to let it go. Next, tackle the magazines. Commit to keeping only the last three issues of your favorite publication. Recycle the rest immediately. That perfume bottle? If it’s less than ¼ full and you haven’t used it in months, toss it. Perfumes degrade over time, so holding onto them won’t do you any favors. As for the framed photo, if it sparks joy, keep it! But consider digitizing it and storing the physical copy in a memory box to save space. Pro tip: Dust the shelf with a microfiber cloth before putting anything back. This prevents dust buildup and keeps things fresh. Aim to spend just 30 minutes on this initial decluttering burst. It’s about progress, not perfection. Remember, the goal is to create a space that’s both functional and visually appealing. You can even add shelf dividers to keep stacks neat and prevent future avalanches. By following these steps, you’ll transform that cluttered shelf into an organized haven in no time!
Achieve Closet Zen: Declutter Like a Pro
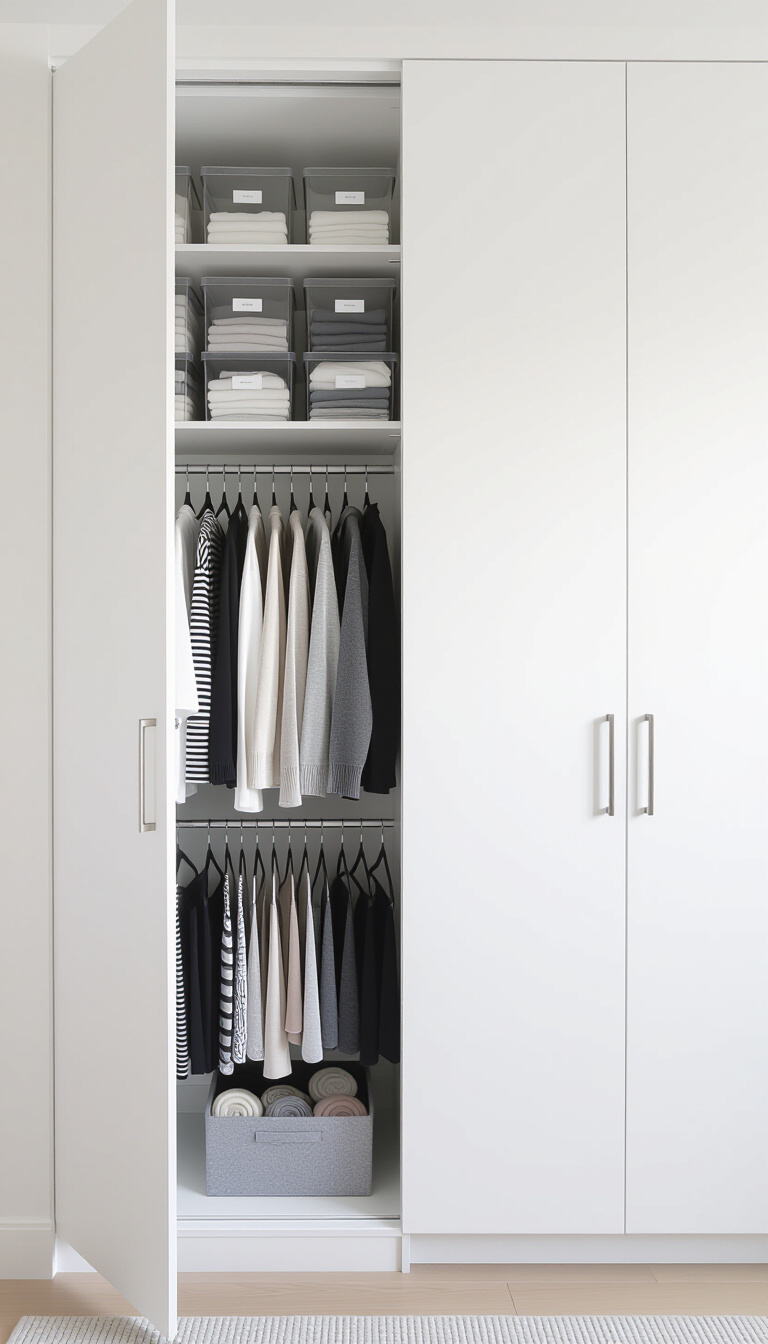
Ready to transform your chaotic closet into a minimalist haven? Start by emptying everything out – yes, everything! This allows you to assess what you truly own and need. Next, invest in a set of slim, black metal hangers; these create a uniform look and save space compared to bulky plastic ones. As you return items, group them by type (shirts, pants, dresses) and then arrange each category by color, moving from light to dark. This visual organization makes finding what you need a breeze. Above your hanging clothes, utilize clear acrylic storage boxes – aim for around 12-15 depending on your closet size – to store out-of-season items or accessories. Label each box with a minimalist white label using a label maker or even just a clean, handwritten tag. This prevents rummaging and keeps everything visible. For socks and underwear, designate a single, light gray felt storage basket for the floor; rolling items instead of folding them maximizes space. Finally, consider installing recessed LED lighting for bright, even illumination, making it easier to see and appreciate your organized space. Pro tip
- donate or sell anything you haven’t worn in six months. This decluttering process, done diligently over a weekend, will not only create a visually appealing closet but also streamline your mornings and bring a sense of calm to your bedroom. You’ll be amazed at the difference a little organization can make, so get started and enjoy the process!
Achieve Closet Calm: A Minimalist Makeover

Ready to transform your chaotic closet into a serene sanctuary? Let’s declutter! First, empty everything out. Yes, everything. This allows you to truly assess what you own. Next, sort your items into four piles: keep, donate, sell, and trash. Be ruthless! If you haven’t worn something in a year, it’s likely time to let it go. For the “keep” pile, invest in matching wooden hangers; a set of 30 usually costs around $25-$30. This creates visual uniformity and saves space. Hang clothes with similar colors together, creating a calming gradient. Now, tackle storage. Purchase a set of 6-8 identical white storage boxes (approximately $10-$15 each) for items you don’t use frequently, like seasonal clothing or accessories. Label each box clearly with simple, black lettering – think “Winter Sweaters,” “Summer Shoes,” etc. Place these boxes on the top shelf of your closet. Before putting anything back, give your closet a quick clean – dust the shelves and vacuum the floor. Finally, consider adding a small, woven rug to the floor of your closet for a touch of warmth and style. This simple addition can make the space feel more inviting. Remember, the key is to maintain this system. Spend 15 minutes each week tidying up and removing anything that doesn’t belong. This will prevent clutter from accumulating again. With a little effort, you can create a closet that brings you joy and makes getting dressed a breeze. You’ve got this!
Final Thoughts
From tackling shoes and sweaters to installing organizers and embracing minimalism, this guide provides a variety of methods to conquer closet chaos. Now, armed with these tips and tricks, you can transform your closet into a calm, organized, and even inspiring space.